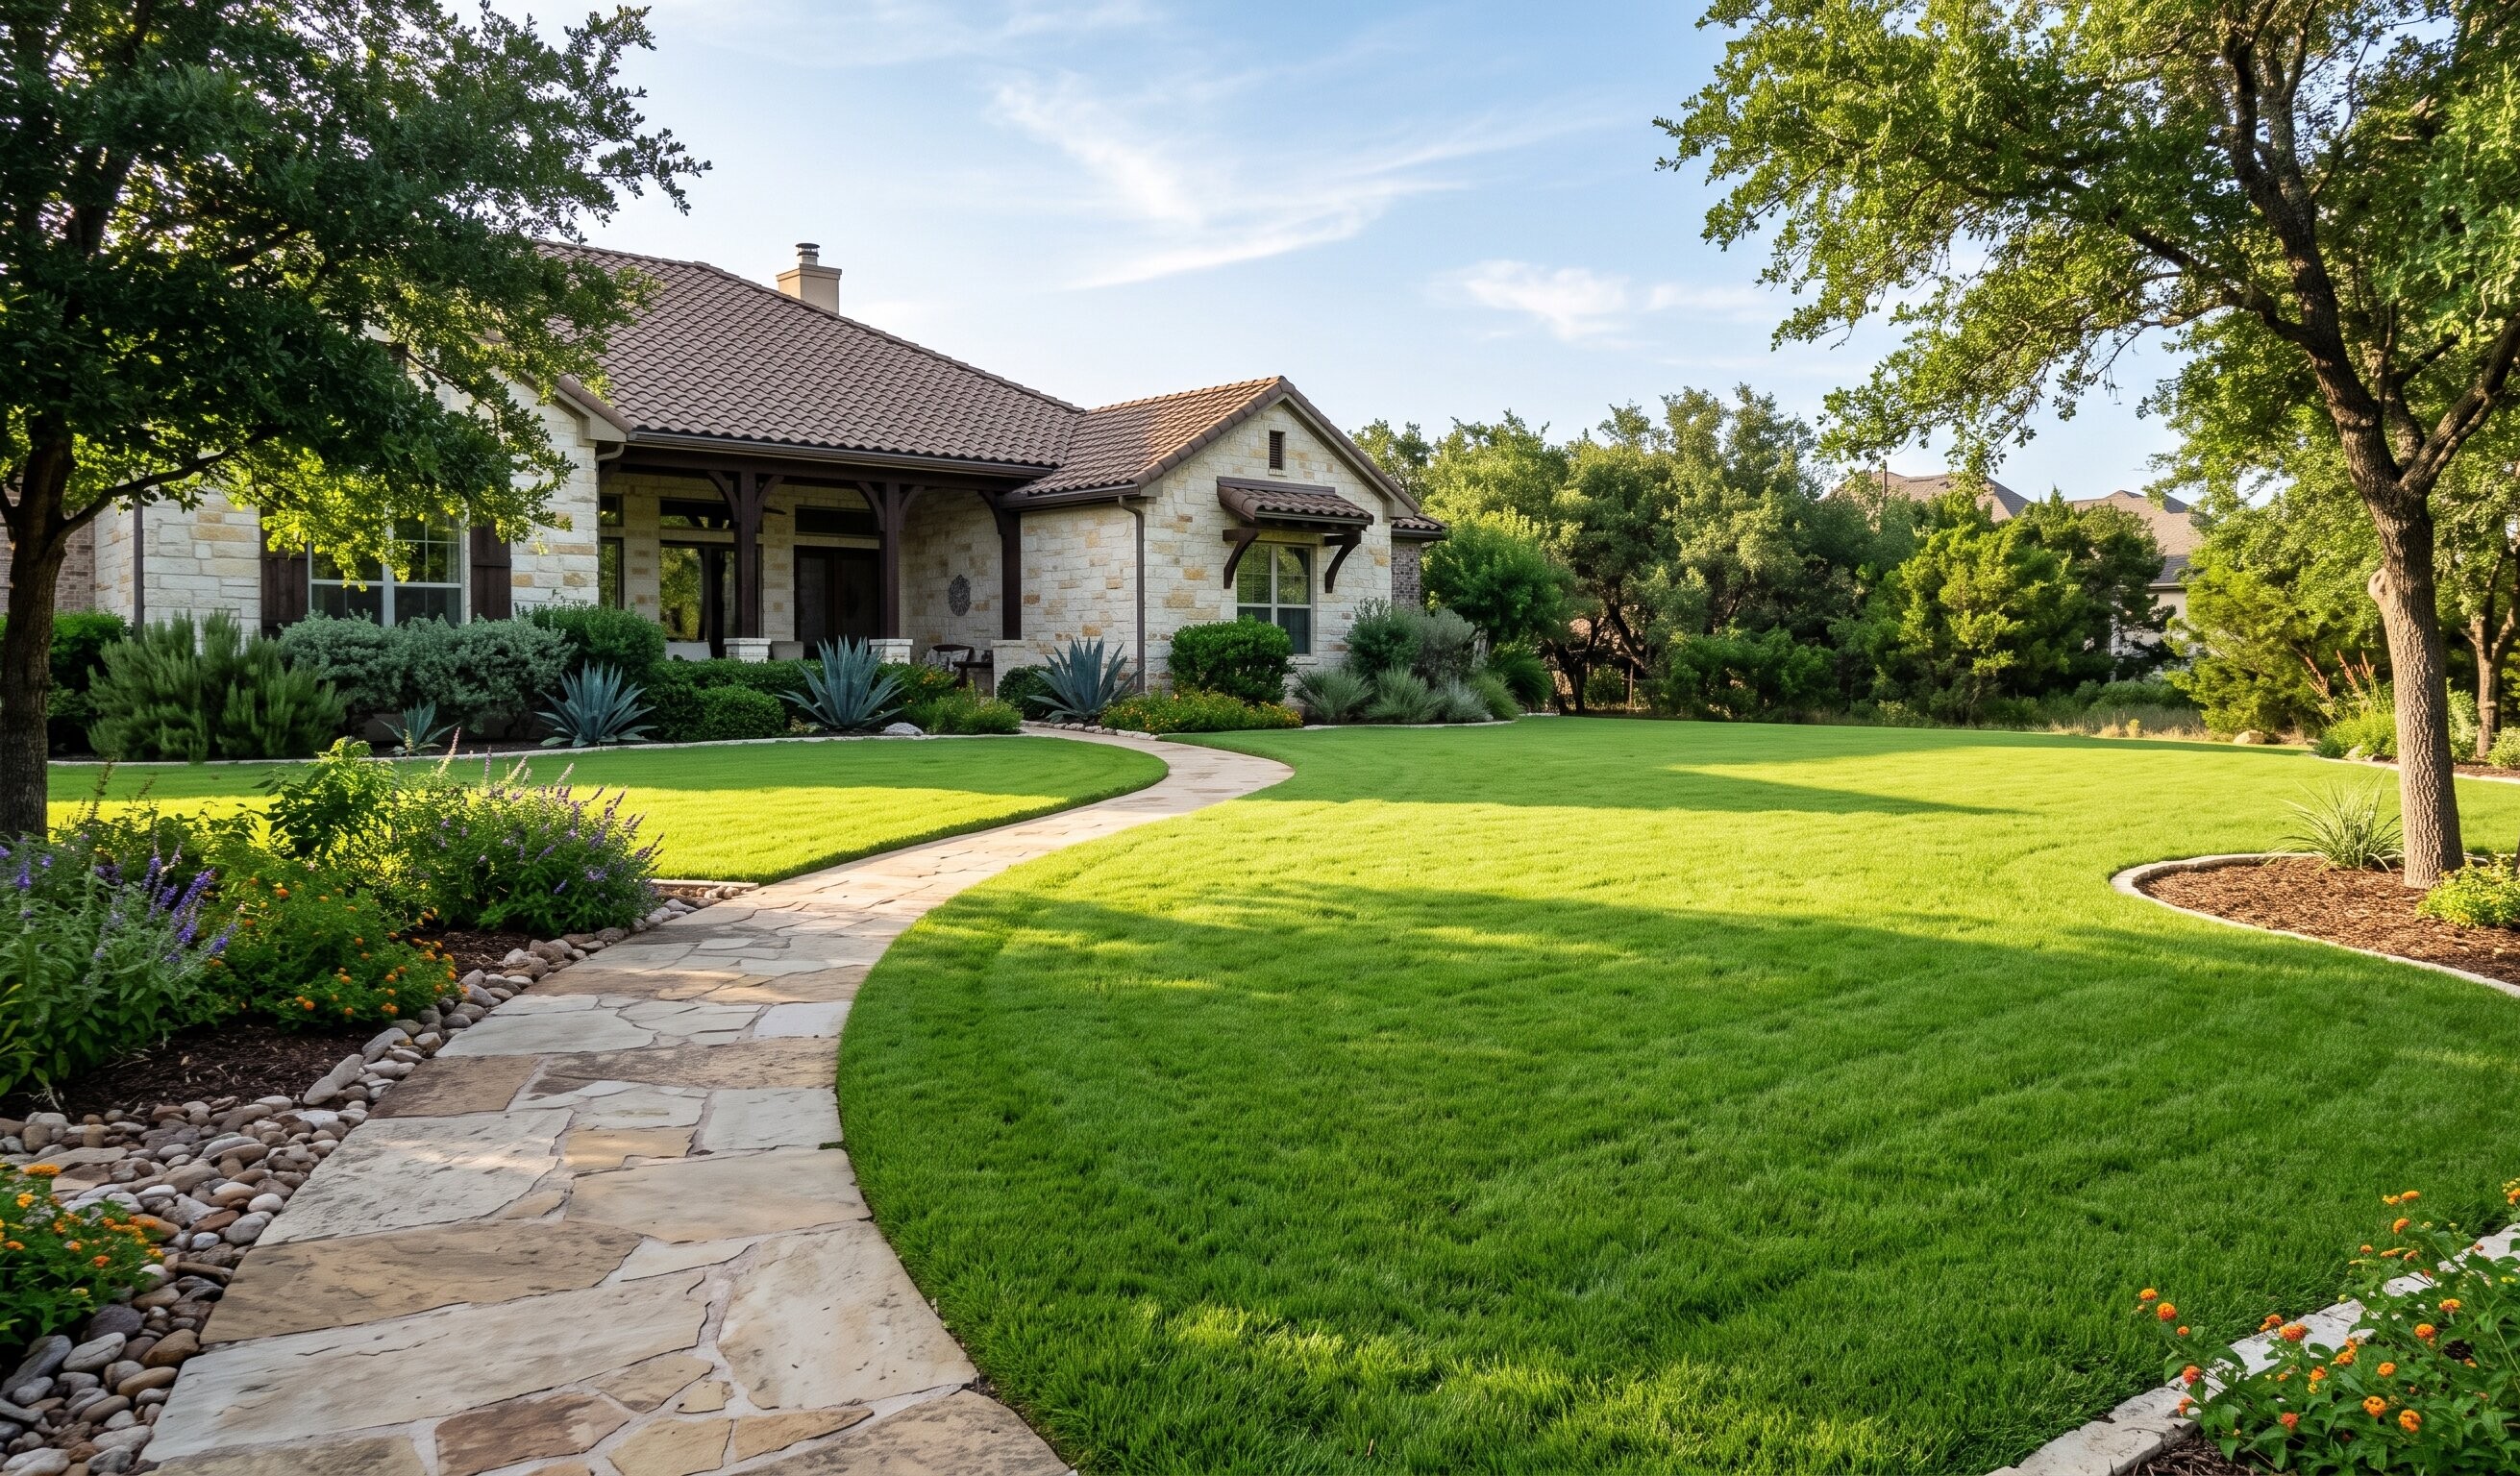
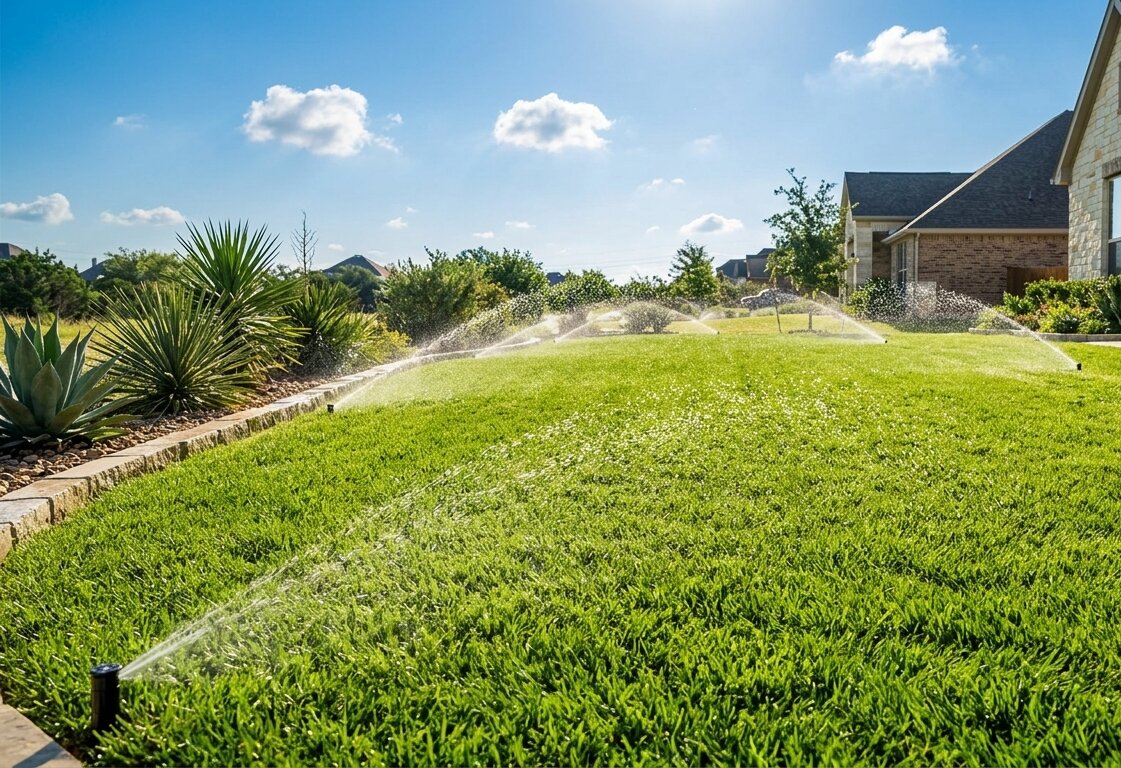
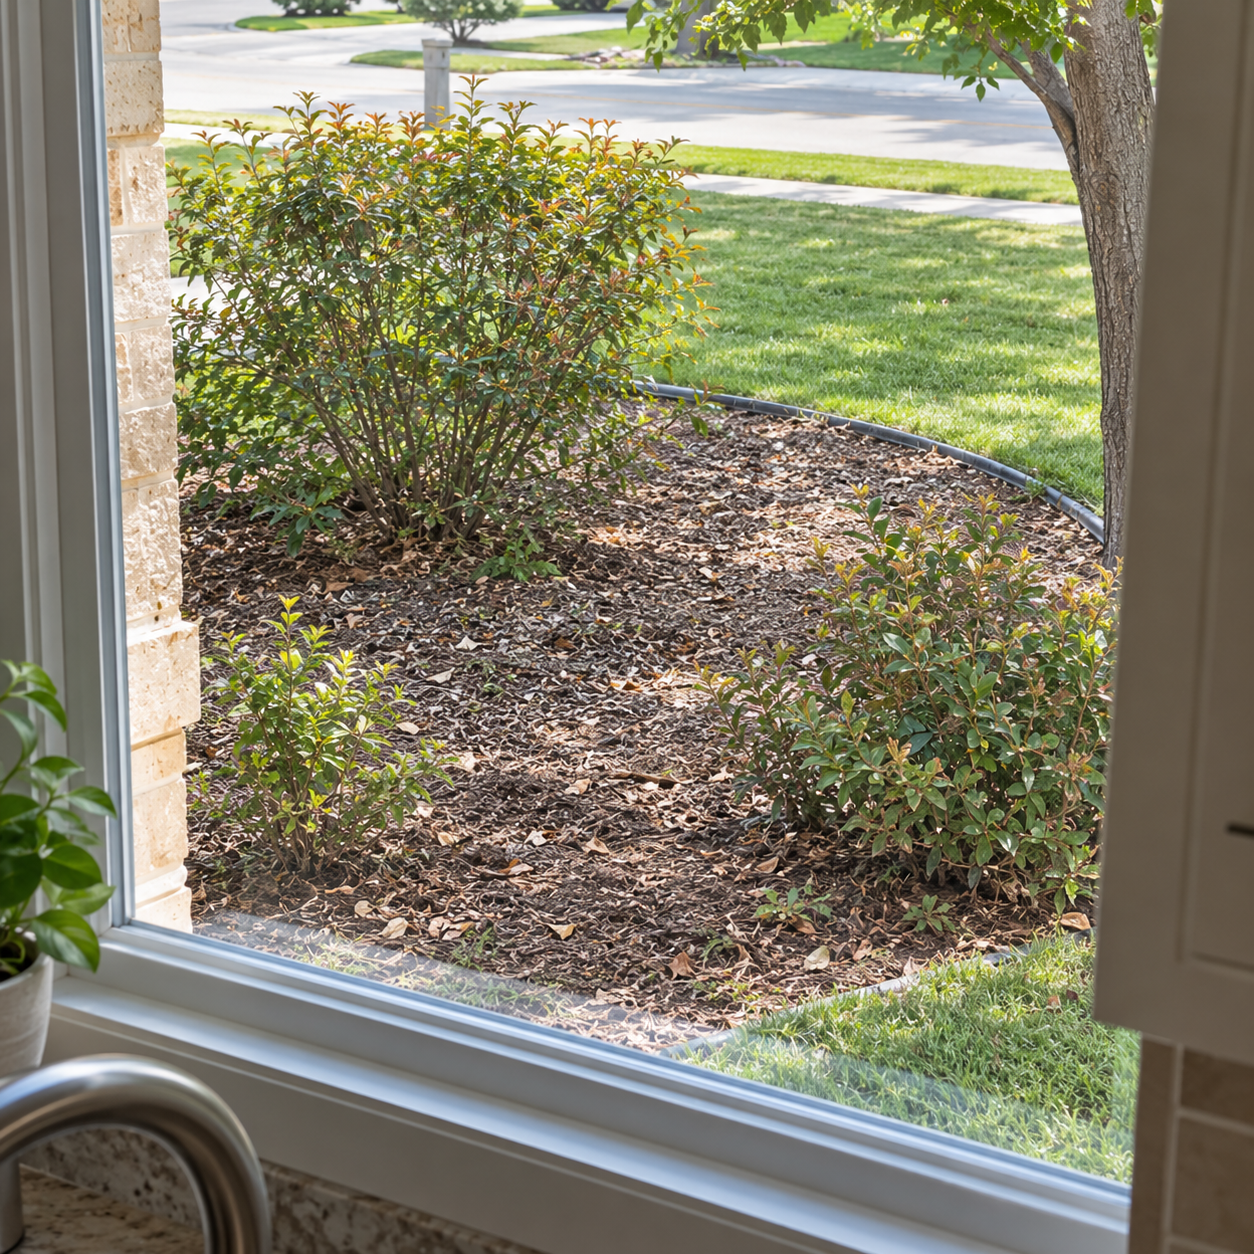
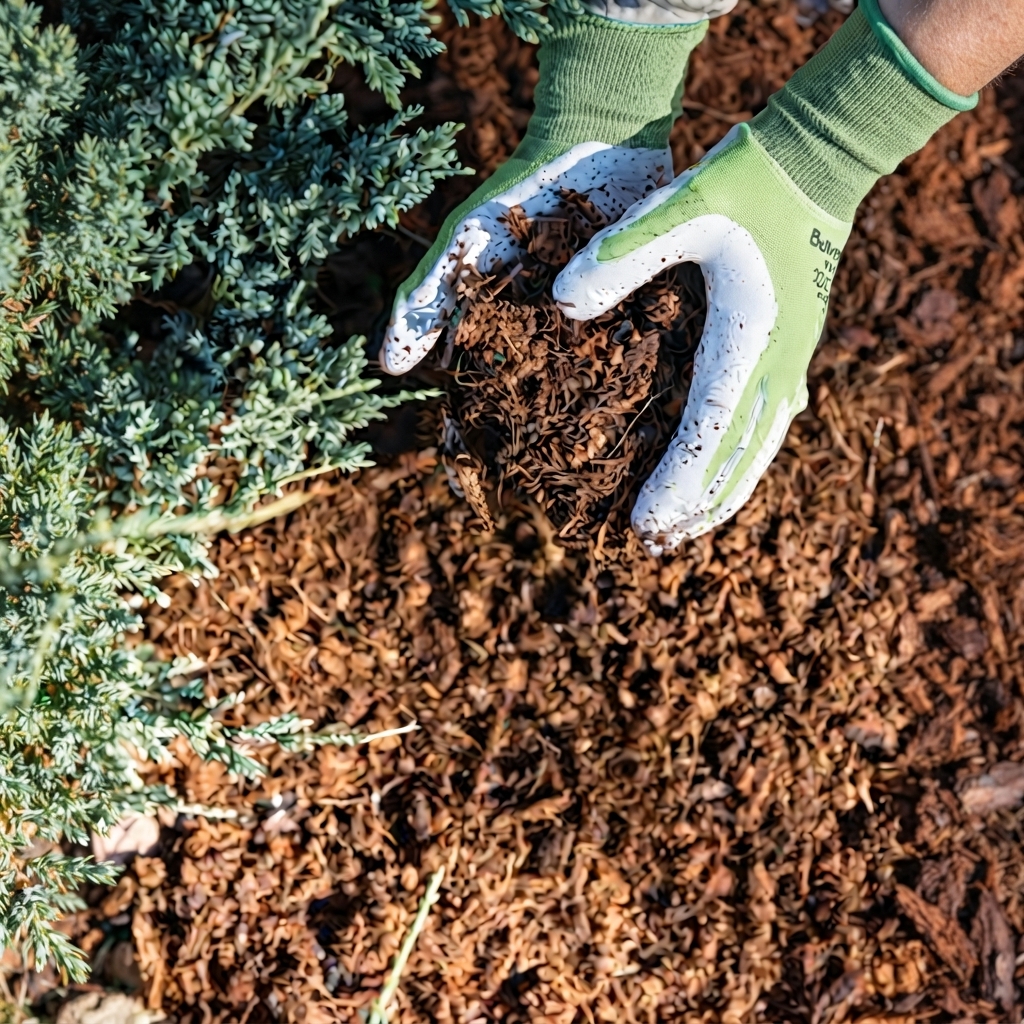
Mulching means putting a layer of organic material over the soil in your planting beds, usually two to three inches deep. The work includes clearing old debris, edging the bed, pulling weeds, and spreading fresh material evenly around plants without piling it on stems or trunks. Homeowners with new landscaping, thinning old mulch, or beds that dry out fast in summer heat need it most.
Here's what a real mulching job looks like on our end. We clear the old stuff out or knock it down if it's still usable. We pull weeds by the root, not the top. We cut a clean edge so the material stays in the bed instead of washing onto your walkway after a hard rain. Then we lay the new layer at the right depth and keep it pulled back a few inches from trunks and stems. Piling mulch against a trunk holds moisture right where the bark can't handle it, and we see rotted crape myrtles from that every year.
So who needs this?
• Anyone with fresh beds after a sod, grading, or planting job, since bare soil bakes hard in the first summer
• Homeowners whose mulch has faded, thinned out, or broken down to almost nothing
• Folks fighting weeds in beds where the soil sees direct sun all afternoon
• Properties south of 1604 where heavy clay cracks open and pulls moisture away from shallow roots
• Anyone running drip lines in beds who wants that water to stay in the ground instead of evaporating
That last one matters more than people think. In a San Antonio July, bare soil loses water fast. A good layer of mulch protects roots from heat and drought and lets the water you're already paying for do its job. We've been doing this work here for over 25 years, and it's still the cheapest thing you can do for a bed.
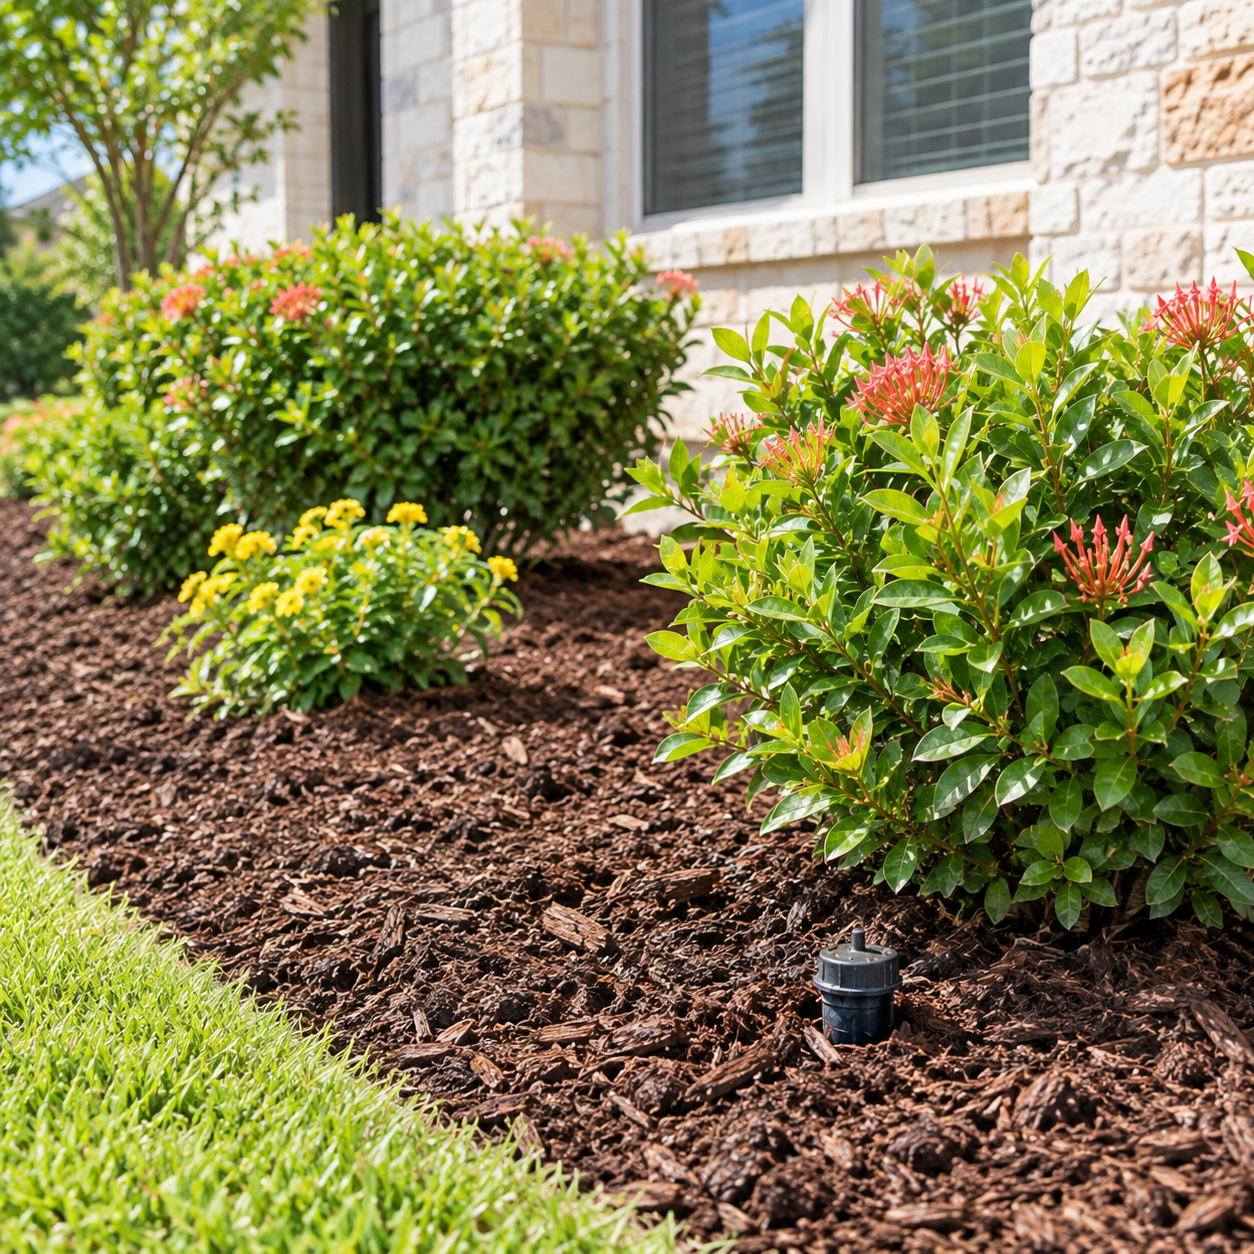
Not all mulch holds up here. A thin layer of shredded filler turns to dust by August, and the first real downpour moves it into the driveway.
Shredded hardwood knits together as it settles. That knitting is what keeps it in place on a slope, and plenty of yards north of 1604 sit on grade. Here's the short version of what we see hold up:
• Shredded hardwood: best all-around choice for beds on a grade, settles into a mat that resists washout
• Cedar: slower to break down, keeps its look through a full season, good around foundation beds
• Pine bark nuggets: fine on flat, protected beds only, since they float and wash out fast anywhere water moves
• Rock or gravel: lasts forever but stores heat, so we don't put it against anything you want to keep alive
Rock deserves a warning. It reflects heat back into the plant all afternoon, and in a San Antonio July that's a real problem for shrubs and perennials. Rock works for a dry path or a strip along a wall. It does not work as bed mulch around living plants, no matter how low-maintenance it sounds.
Dyed mulch fades, that's just how it goes in this sun. If the look matters to you, expect to refresh the top layer more often than you would with natural hardwood.
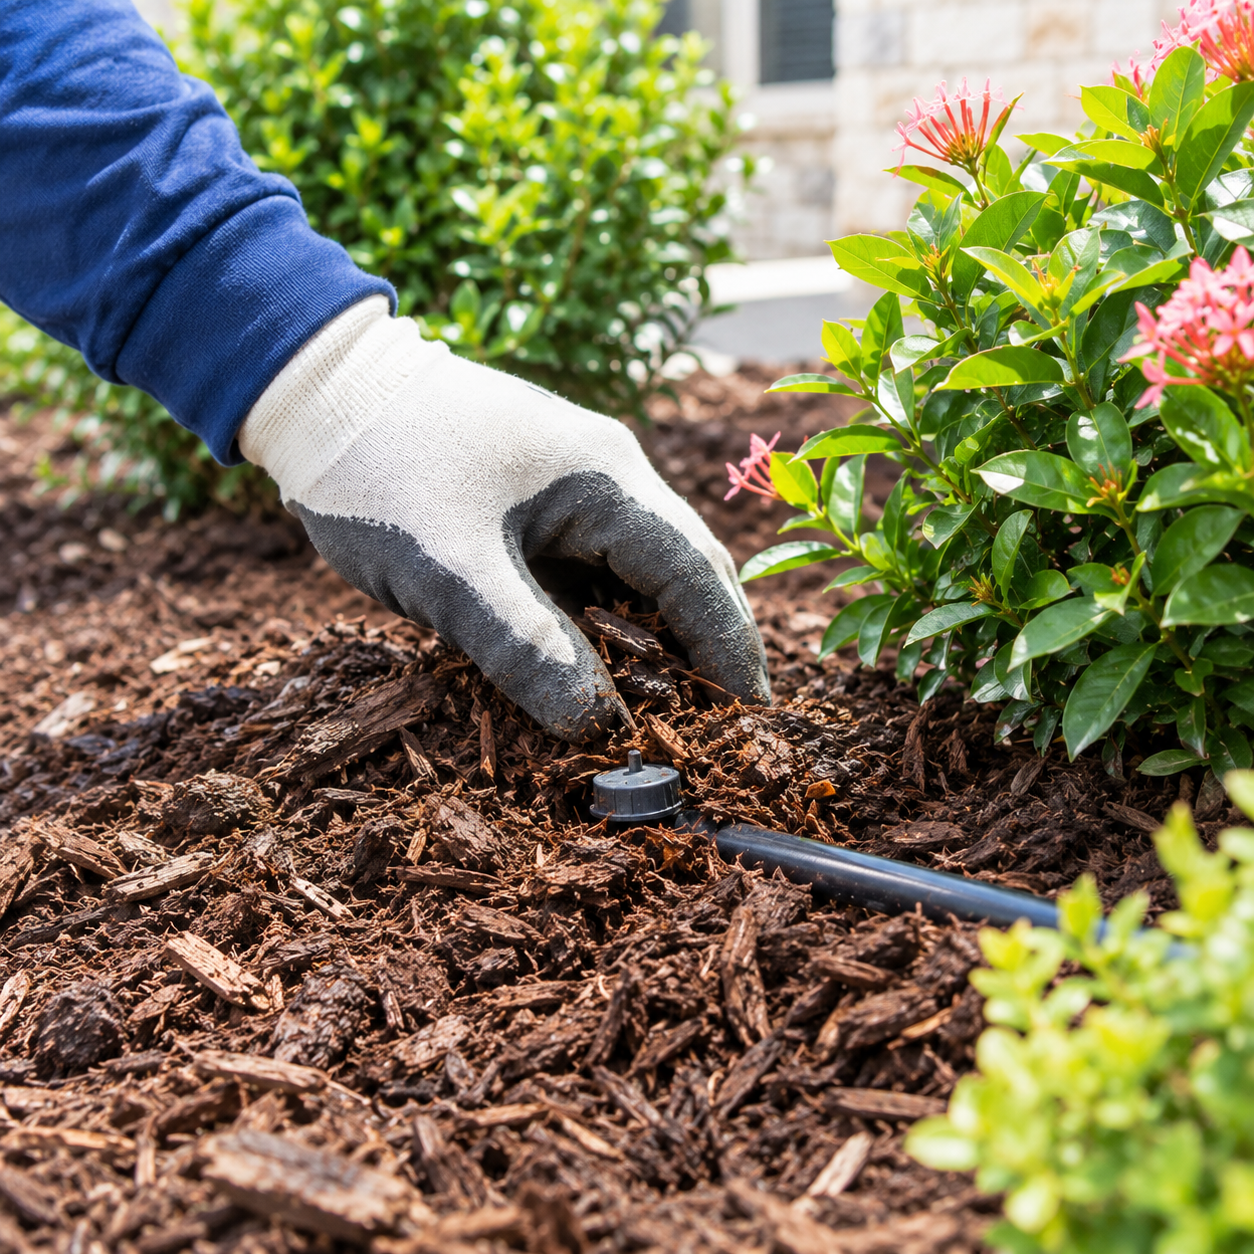
Here's the part most mulch crews get wrong. Your beds may already have drip tubing snaking through them, and that tubing is thin. A shovel edge splits it. A wheelbarrow wheel flattens it. And once it's buried under three inches of mulch, you won't find the leak until your water bill tells on you.
We run the system before we spread anything, every zone, one at a time. Then we work in a set order.
•Run each drip zone and mark any emitter that's clogged, buried, or spraying instead of dripping.
•Fix what's wrong before mulch goes down, not after.
•Lift the tubing clear of the spots we'll be walking and dumping.
•Hand-spread around the lines instead of raking mulch across them.
•Set the drip back on top of the soil, under the mulch, with emitters pointed where the roots are.
•Run every zone one more time with the mulch in place.
Mulch settling can pinch emitters, starving plants weeks later. Hard water mineral deposits clog emitters, reducing flow. We check both while beds are open—a five-minute job that becomes difficult once mulch is applied. Our Texas Irrigator License ensures we properly install and maintain drip systems.
Mulching usually gets quoted one of two ways: by the cubic yard of material, or by the bed as a finished job. The finished-job number folds in the labor most people forget about: pulling weeds, edging the bed line, hauling off old matted mulch, and hand-spreading around plants without burying them. It's almost always higher, and it's the one that reflects what happens in your yard.
What moves the number up or down:
• Square footage of beds and the depth you want, since depth multiplies fast
• Mulch type, since hardwood, cedar, and dyed products all carry different material costs
• Whether old mulch has to come out first, common when beds have been topped off for years without a cleanout
• Bed prep, meaning weeding and re-cutting a clean edge before anything goes down
• Access, because a wheelbarrow route through a narrow gate takes longer than a driveway dump next to the bed
Three inches across a bed is the working target. Go to four and you've added a third more material. That's why anyone quoting mulching without measuring your beds is guessing. We do free estimates, and we measure the beds while we're standing in them.
Mulch should sit two to three inches deep over the soil. Any thinner and it breaks down fast in San Antonio heat, any thicker and it holds too much moisture against stems and trunks. Keep material pulled back a few inches from any stem or trunk.
Most beds need a fresh layer once a year, since our long, hot summers break material down faster than cooler climates. Dyed mulch fades quicker in this sun, so if color matters to you, plan on refreshing the top layer more often than with natural hardwood.
Mulch itself won't hurt drip lines, but installing it carelessly can. A shovel edge or wheelbarrow wheel can split thin drip tubing, and once it's buried, you won't spot the leak until your water bill spikes. We run the system before we start, then work around the lines by hand.
%20(1).jpg)